Written By: John Curtis
Published: Mon Mar 31 2025

Part 2
In the previous article we discussed 'Why' we built Blog Links. We covered what problem we were addressing and why this is a pain point for Shopify merchants. To recap:
Blog Links automates the task of adding Internal Links between your blog articles, improving SEO and reader engagement. This is a challenging problem for Shopify merchants, since the functionality is not baked into the core platform.
We mentioned Automated and Dynamic a lot, but what does that mean to store owners? It means that the section at the bottom of your articles will be created for you and shown to your customers based on the Blog Links settings you choose.
Awesome, so how does one take advantage of this?
Setup
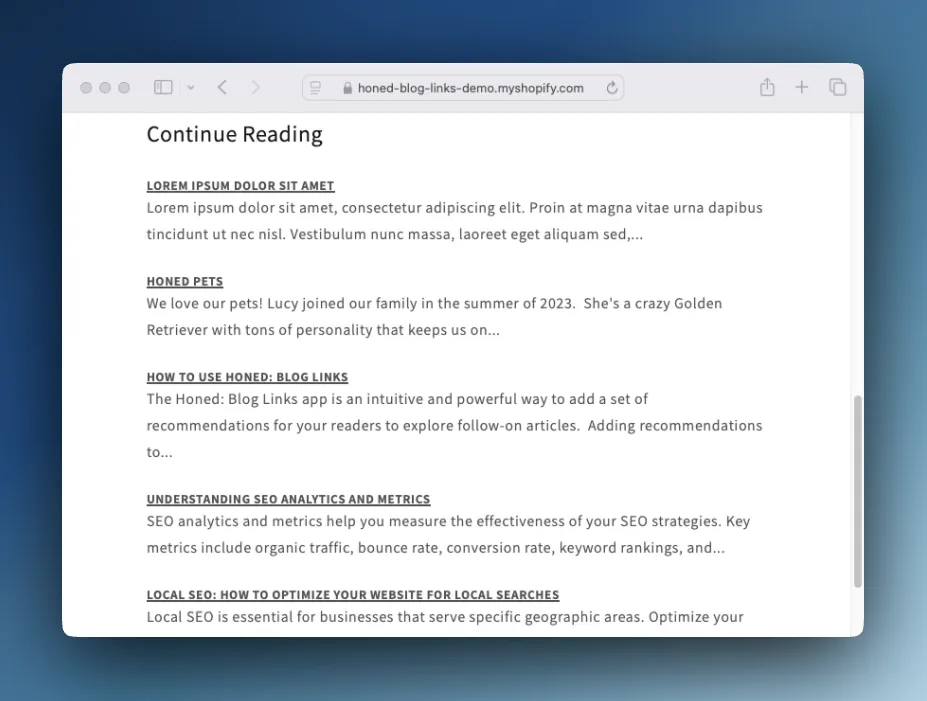
Start by installing the app from the Shopify App Store, select your blogs, add to your online store theme, and ... that's it, you're up and running with some great defaults, as seen below.

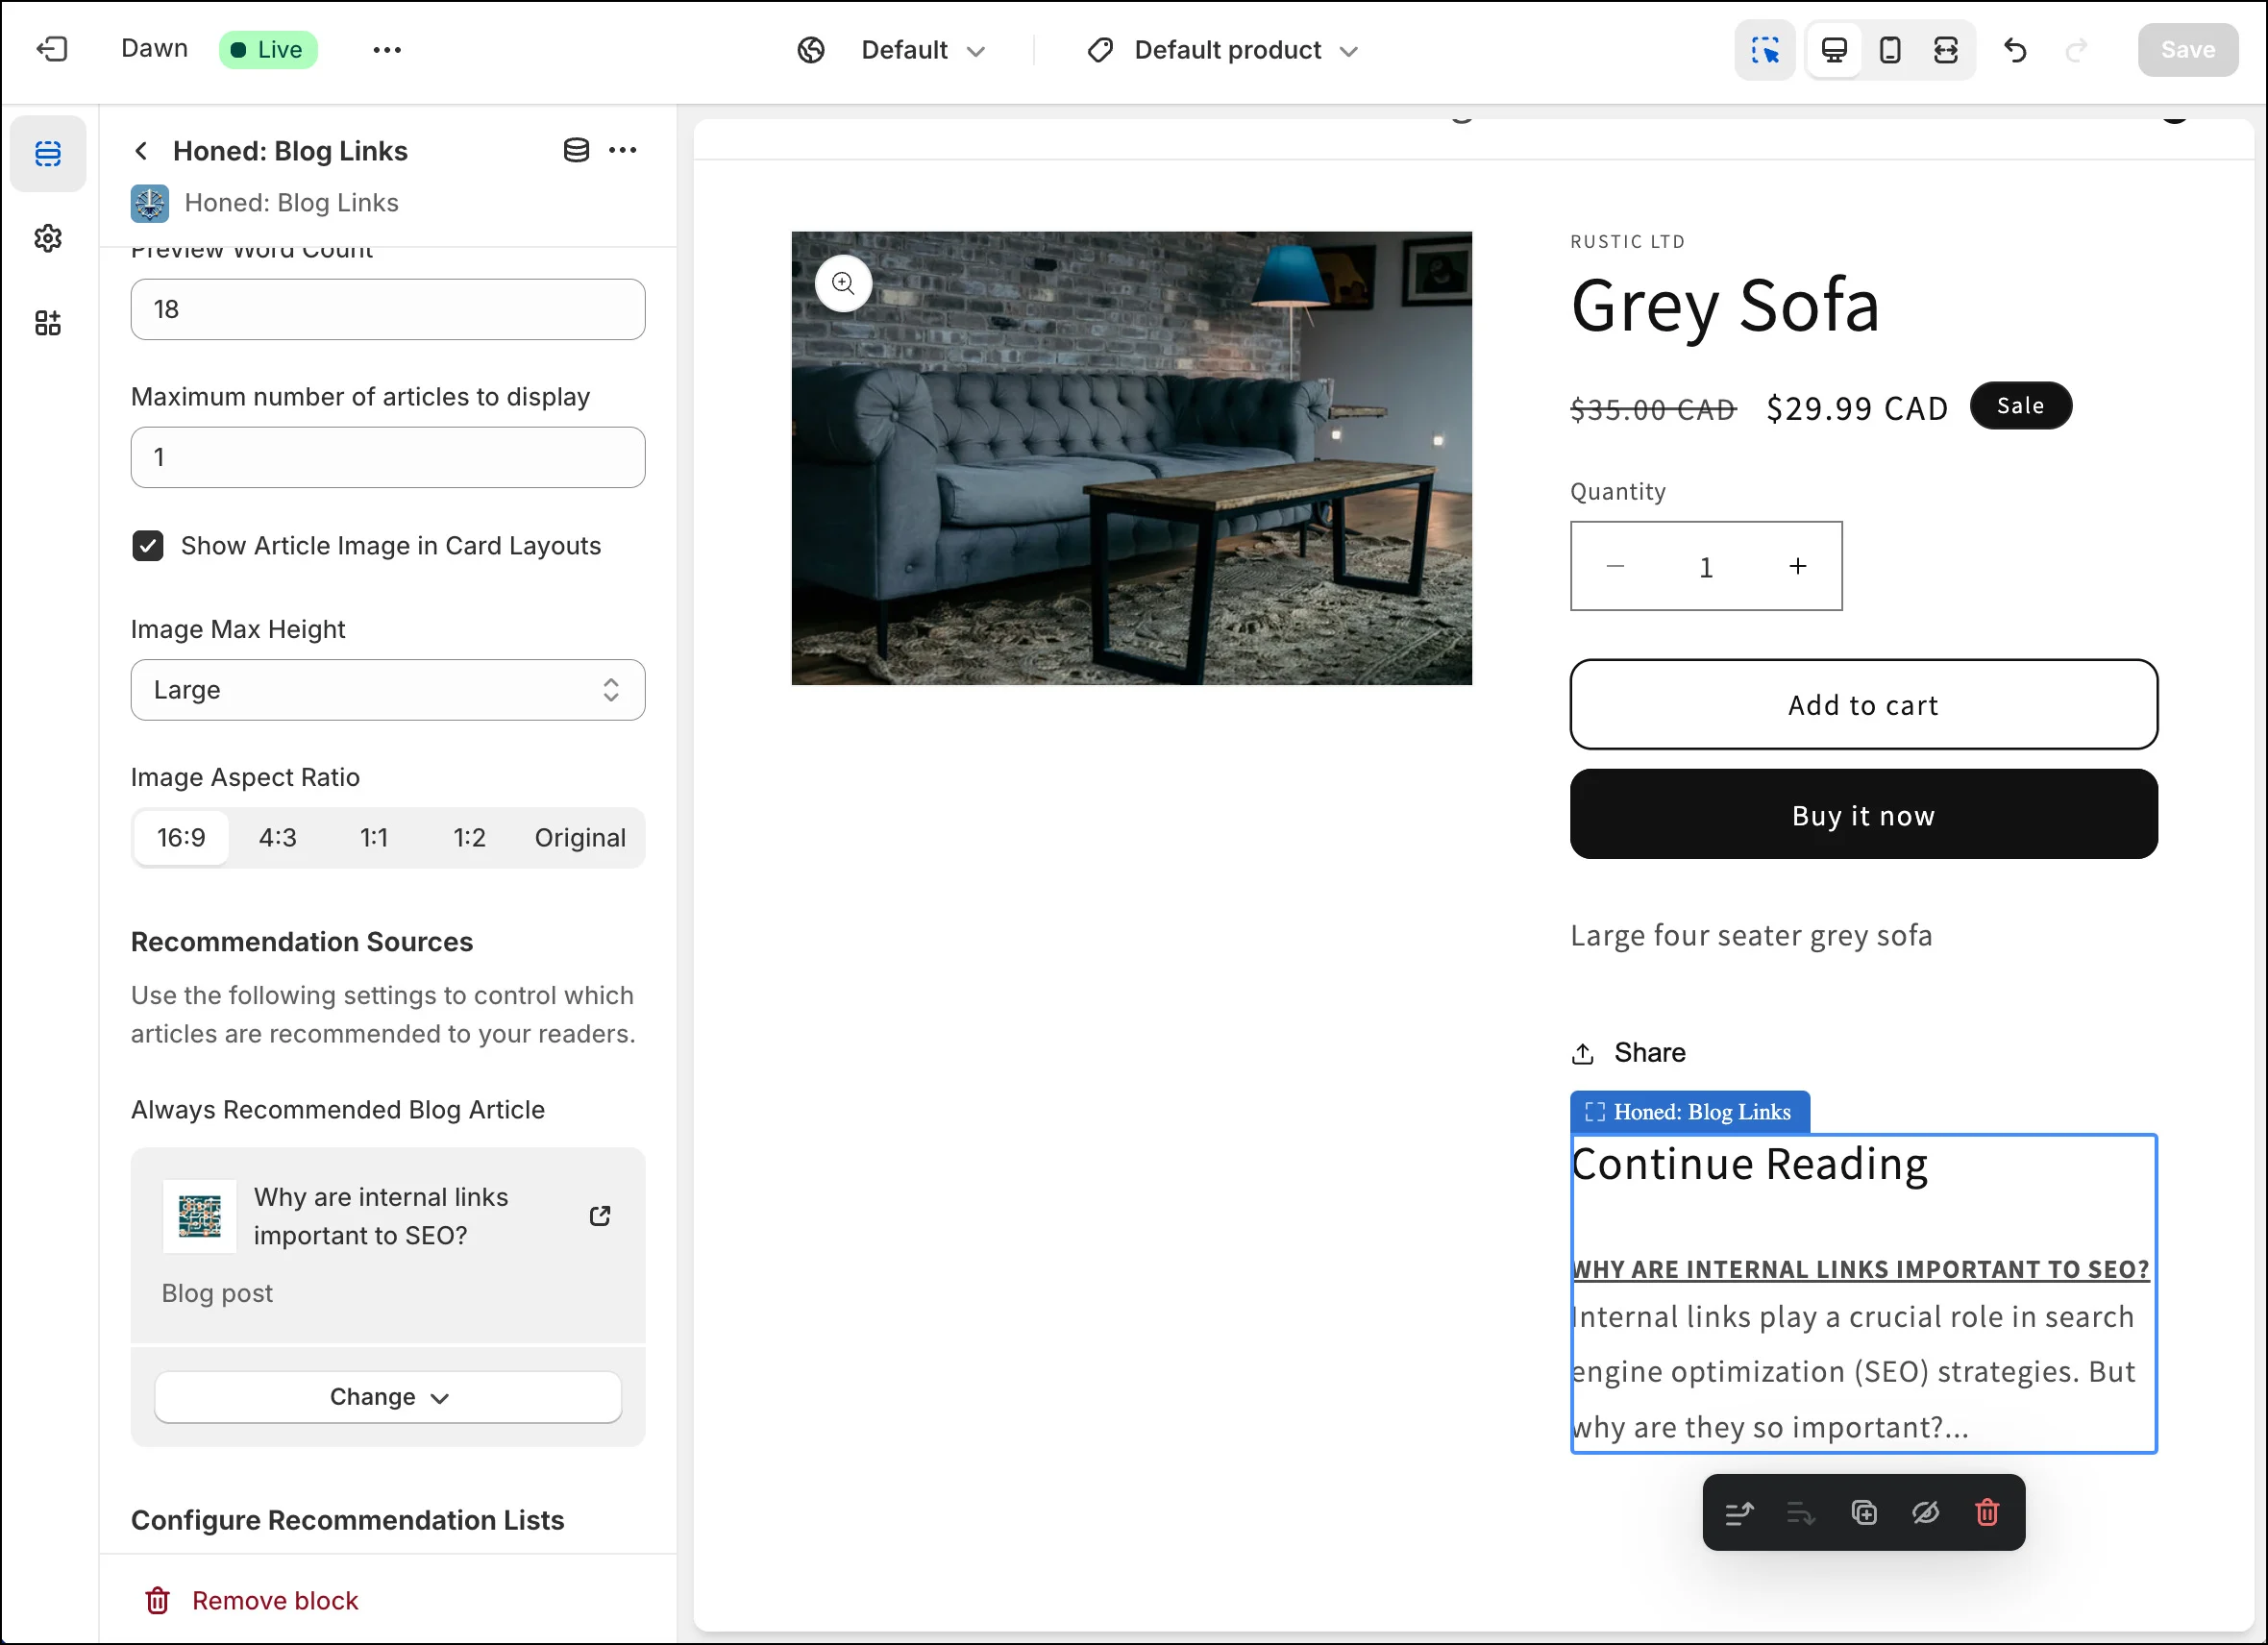
Under the hood, the app leans heavily on the Theme Extension framework so that you can see the impact of the changes you make in the theme editor right away.
How to Configure Recommendations
Going further, the structure of your blog will dictate how you set up Blog Links. A common setting is to "Only recommend from current blog" so that you don't cross major blog themes. I like the "Always recommend" selector in the Theme extension that allows you to always have a specific article in your read next lists.
These are the core features of the recommendation algorithm:
Always Recommend
Used to promote a single article on all other articles.
Helps transfer google cred from existing articles to the promoted one.
Blog Selection
Generates recommendations for articles in a subset of your blogs.
Only recommend from current blog
If the app is used in an article, it will only recommend other articles from that same blog.
Use on a theme page, product, collection, or even the cart
Blog Links works on any template in the Online Store! Using Blog Links is great way to get your articles seen from products or other landing pages.

How to Configure Visual Settings
You'll notice that the fonts and colours match your site settings, but there's still some choices you can make in the app. The visual settings of the app's theme extension focus on layout, images, and preview display to fit nicely with your atheistic. If you're trying out the app and wishing there was a particular setting, please let us know!
Additionally, it's possible to use the custom CSS option in the theme editor to style the recommendations outside of the built-in options as shown in this short tutorial.
In our next article, you'll see how we implemented the various parts of this app for both performance and a rich user experience. Most of the core functionality is implemented in Liquid to reduce reliance on calls to an external app server. In fact, showing your shop to customers not use the Honed servers at all, all the data it needs is saved in Shopify!
Our upcoming article about the technical implementation of Blog Links will deep dive into these topics.
Keep Reading
Part 1: Why we made Blog Links
Part 2: How to use Blog Links (this article)
Part 3: Technical Implementation of Blog Links (coming soon)